


WordPress and Docker
WordPress is the most popular CMS on the market, period. On the other hand, Docker is the trendiest tech since the first iPhone. In this guide, we’re going to show you how to run your WordPress site in a Docker container and what are the benefits for any WP developer.
Why should I dockerize my WordPress sites?
This point could be very long. It’s always better for a reader, however, to show specific use cases instead of writing lengthy essays. To cut the long story short:
What is Docker?
To put it simply, Docker is a type of virtualization which is faster and lighter than other VMs thanks to a different attitude to the infrastructure. If we compare it to a standard VM that can take even a few minutes to get started, Docker can be launched in just a few seconds. What’s more, you can easily run dozens of Docker containers on a single PC which could otherwise launch no more than 5 VMs.
What does it mean in practice?
To run WordPress locally, you don’t need Apache, MySQL server, XAMPP, Wamp and MAMP. All you need is Docker — installation itself takes seconds and no additional configuration is required
No matter if it’s a dev PC, Stage server or LIVE server and what OS it is, Docker works the same everywhere. This means you won’t have to look for bugs that, say, appear on the LIVE server and cannot be reproduced locally.
If you already dockerize your apps, move on to the next guide in the series to learn how to automate Docker deliveries.
Install Docker
If you already have Docker installed, you can jump to the next part of the article. If not, follow instructions for your OS:
1. Mac
Download the latest stable version of Docker for Mac.
Open the installer and drag Moby the whale to your Applications folder:
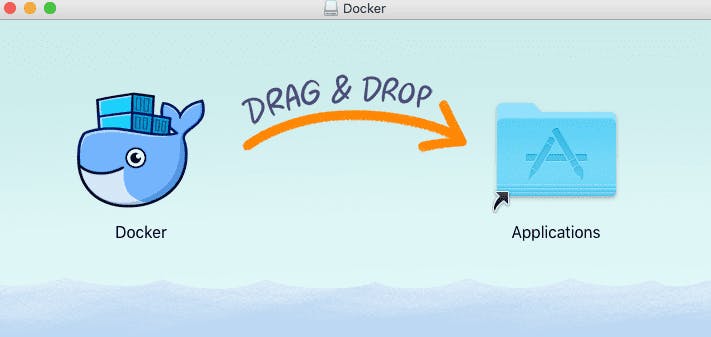 Docker installation
- Run Docker.app and authorize it with your system password. Privileged access is required to install networking components and links to the Docker apps:
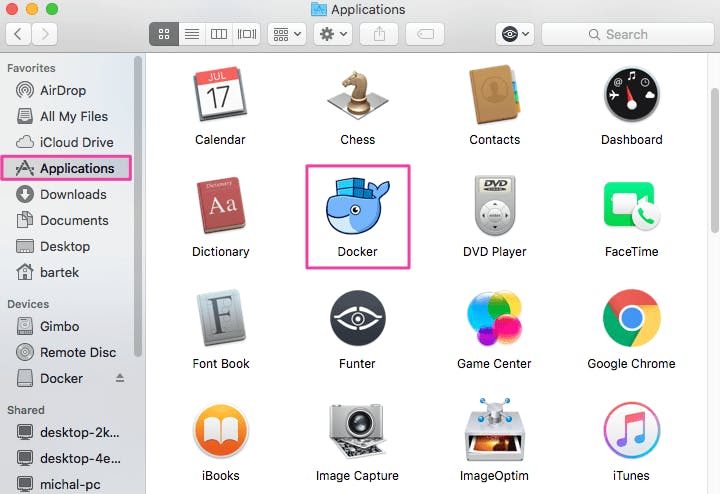 Docker installation
- Click the whale icon in the status bar, go to Preferences and set the amount of RAM that you can assign to Docker:
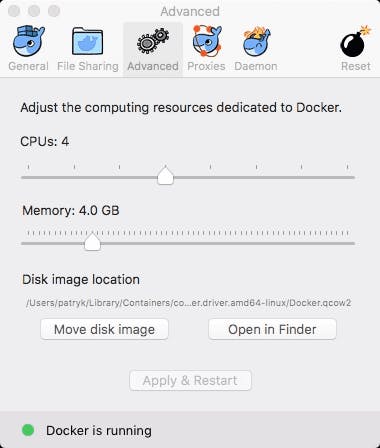 Docker installation
- Check if everything works properly by running
docker infoin your terminal.
2. Windows
Download the latest stable version of Docker for Windows.
Double-click Docker for Windows Installer.exe to run the installer.
Follow the install wizard to accept the license, authorize the installer, and proceed with the installation process:
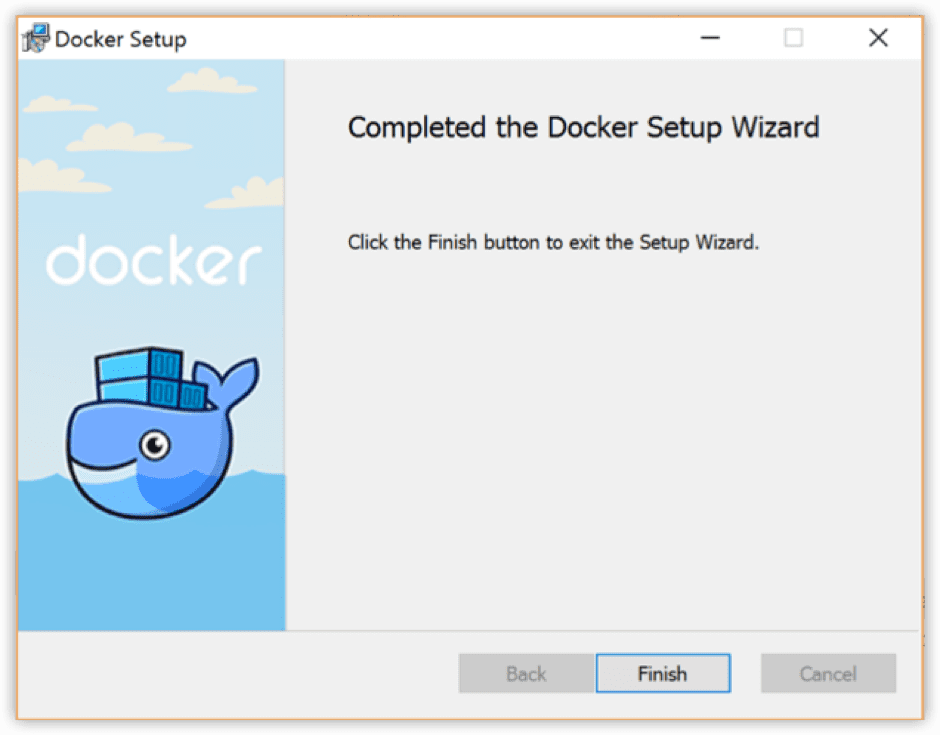 Docker on Windows
Docker will not start automatically — look it up in your applications and launch it
Set RAM by entering Docker’s Settings and clicking its tray icon:
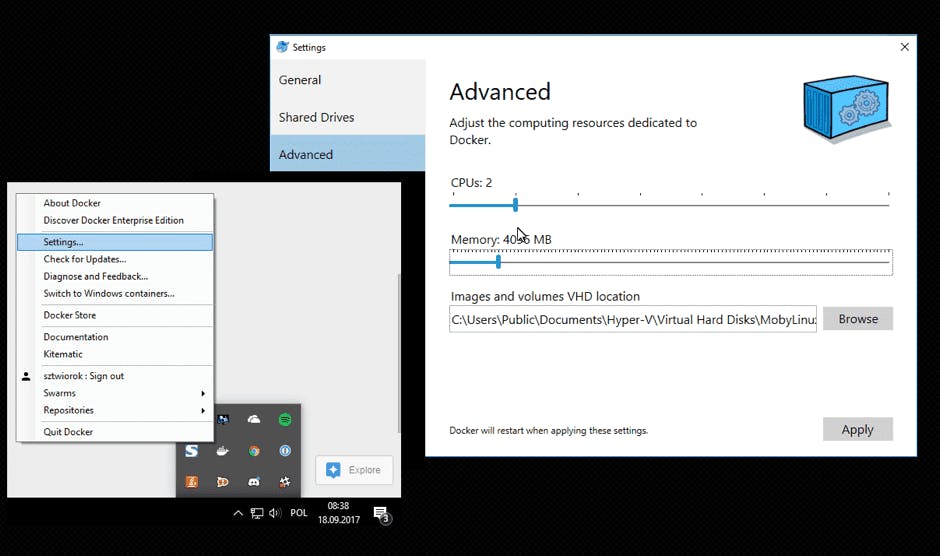 Docker on Windows
3. Linux
Before you start, make sure to install Docker Compose on your system
Follow install instructions for your distribution of Linux:
How to run WordPress in Docker
The application will be run in a Docker Container (an equivalent of a VM). The Docker container is launched on the basis of a Docker image built on the basis of a Dockerfile.
Define a Dockerfile for WordPress
The first thing we need to do is to define how our image will look like in a Dockerfile. It is a text file that is added to the directory with the sources of your application.
In general, our Dockerfile will consist of two commands:
FROM– to build the application, use the official WP image"FROM wordpress:php7.1-apache"COPY– copy my code to the defined directory in my imageThe Dockerfile itself should be named
Dockerfile.
Below you’ll see how the Dockerfile will look depending on the contents of your repo.
WP Engine
If your repository contains the entire engine together with the contents, plugins and themes, make sure to add a Dockerfile with the following content along wp-admin, wp-content, and wp-includes directories:
FROM wordpress:php7.1-apache
COPY . /var/www/html
WP Theme
If your repository contains only the sources of the theme that you deploy, add a Dockerfile with the following content to the directory with your theme’s sources:
FROM wordpress:php7.1-apache
COPY . /var/www/html/wp-content/themes/mytheme/
WP Plug-in
If your repository contains only the sources of the plug-ins that you deploy, add a Dockerfile with the following content to the directory with your plug-in’s sources:
FROM wordpress:php7.1-apache
COPY . /var/www/html/wp-content/plugins/myplugin/
WP Plug-in and theme
If your repository contains plug-ins and themes but lacks the WP Engine, you must use the Dockerfile to upload them to the proper location.
For instance, let’s assume that your repository contains 4 directories: mytheme1, mytheme2, myplugin1 and myplugin2. In this case, you have to add the Dockerfile along all these directories with the following content:
FROM wordpress:php7.1-apache
COPY mytheme1 /var/www/html/wp-content/themes/mytheme1/
COPY mytheme2 /var/www/html/wp-content/themes/mytheme2/
COPY myplugin1 /var/www/html/wp-content/plugins/myplugin1/
COPY myplugin2 /var/www/html/wp-content/plugins/myplugin2/*
Build WP Docker Image
Once you have your Dockerfile defined, you can build the image in the terminal:
$ cd my_repo
$ docker build -t 'wp-image' .
The command will build an image named wp-image in the context of your repository (the . at the end). The first execution will take a while since the official WordPress image needs to be downloaded to your disk. Next builds will be much faster.
Run WP Image
Finally, the time has come to run the image:
$ docker run --name mysql-cont -e MYSQL_ROOT_PASSWORD=qwerty -d mysql:5.7
$ docker run --name wp-cont --link mysql-cont:mysql -p 8000:80 -d wp-image
The first command starts a MySQL Docker container in version 5.7 named mysql-cont. It is running in the background (-d flag). We are also passing MYSQL_ROOT_PASSWORD environmental variable which defines the root password for MySQL server.
The second command starts a container based on the image that we build (wp-image). The container is named wp-cont, runs in the background (-d) and has port 8000 mapped from the host to port 80. This means that if you go to 127.0.0.1:8000 in your browser, you will be redirected to the Apache server in the container, listening on port 80.
Another option which we use is --link. It means that the MySQL container is visible inside the wp-cont container through a MySQL alias.
You can also run the application and make it connect to your SQL server. You just need to run one command in which you provide your server details:
$ docker run --name wp-cont -e WORDPRESS_DB_HOST=host:port -e WORDPRESS_DB_USER=user -e WORDPRESS_DB_PASSWORD=pass -p 8000:80 -d wp-imageOnce the container starts, you can open its URL in the web-browser and start using it: http://127.0.0.1:8000
Run WordPress with Docker Compose
At this moment we need to do three things:
Build the image
Run MySQL
Run the image
You can simplify these steps using Docker Compose, a tool for defining and running multi-container Docker applications.
Start with adding docker-compose.yml to the Dockerfile that you defined in the previous steps with the following content:
version: '3'
services:
  wp:
    build: .
    ports:
      - "8000:80"
    environment:
      WORDPRESS_DB_PASSWORD: qwerty
  mysql:
    image: "mysql:5.7"
    environment:
      MYSQL_ROOT_PASSWORD: qwerty
In this file we define two services that are automatically linked with each other:
wp– here we build a Docker image based on the Dockerfile created before and map port 8000 on the host to port 80 inside the container. Then we pass the MySQL password via an environment variable (the WP base image is designed to handle such variables)mysql– here we run the MySQL image from the Docker Hub in version 5.7 with theqwertypassword passed via an environment variable (the MySQL image is designed to handle such variables, too)
As a result, the WordPress base image automatically takes care of the linked MySQL service and configures WP database access.
Right now, we can run Docker Compose and start both containers with one command:
$ docker-compose up -d
Once the containers have started, you can open the URL in the web-browser and start using your application:
[http://127.0.0.1:8000](http://127.0.0.1:8000)
It can take some time until the MySQL server inside the container actually starts
To stop the application, run:
$ docker-compose down
If you need to rebuild the WordPress image (eg. because you changed something in the sources), run:
$ docker-compose up -d --build
Data in MySQL
Data in the containers is not permanent. This means that if you stop the container and run it again, there will no longer be any data inside. It’s not very convenient as you have to initiate your WordPress every time.
This can be avoided by adding a Docker volume to docker-compose:
version: '3'
services:
  wp:
    build: .
    ports:
      - "8000:80"
    environment:
      WORDPRESS_DB_PASSWORD: qwerty
  mysql:
    image: "mysql:5.7"
    environment:
      MYSQL_ROOT_PASSWORD: qwerty
    volumes:
      - my-datavolume:/var/lib/mysql
volumes:
  my-datavolume:
Docker will create a volume for you in the /var/lib/docker/volumes folder. This volume will persist as long as you don't type docker-compose down -v.
How to ship a WordPress image to the Production server?
Once you have your image built locally, a tempting question arises: can I do all of these on the Production server? The answer is simple: no. Actually, the only thing that you could do on the Production server is to run images built on other servers/PC’s.
Push the image to a private registry
You may have missed that, but we already used the image registries twice in this article. For the first time, we typed the following in the Dockerfile:
"FROM wordpress:php7.1-apache".
The second one was when we ran MySQL:
$ docker run --name mysql-cont -e MYSQL_ROOT_PASSWORD=qwerty -d mysql:5.7``
In both cases we used images from the Docker Hub. You can also push your own Docker image there:
Sign up to Docker Hub if you haven’t done it already.
Build your image using your account’s username in its name:
$ docker build -t my-docker-hub-username/my-image .
- Push the image to Docker Hub:
$ docker push my-docker-hub-username/my-image
Pull the image to Staging/Production
Once you upload your image to the registry, all you need to do it is to pull it onto your server. You don’t have to upload your application sources: what you need to do is create the same docker-compose that you used locally, but instead of using build: . you'll refer to the already pushed image and change the application port from 8000 to 80:
version: '3'
services:
  wp:
    image: "my-docker-hub-username/my-image"
    ports:
      - "80:80"
    environment:
      WORDPRESS_DB_PASSWORD: qwerty
  mysql:
    image: "mysql:5.7"
    environment:
      MYSQL_ROOT_PASSWORD: qwerty
    volumes:
      - "my-datavolume:/var/lib/mysql"
volumes:
  my-datavolume:
Once docker-compose is configured, you can run it just like you did locally:
$ docker-compose up -d
Summary
Hope you enjoyed reading this guide. We really tried to keep things as simple as possible. In the next parts we’re going to show you how to automate WordPress delivery with Docker and Buddy, and, ultimately, how to run WordPress in Kubernetes and automate the whole operation with your beloved CI/CD software.
Originally published at https://buddy.works/ on May 3, 2017