


The following guide covers the basics of Git: installing Git on your system, initializing repository, committing files, adding remote, and collaborating on branches with other users.
A note before you start: the best way to understand how Git works is to run Git commands from your terminal. If you’re a Windows user, make sure to run git bash when adding your Git package.
Installation
First, you need to choose and install the package for your OS:
Creating repository
Once the Git is installed, go to the folder with your project and run the following:
$ git init
To initialize Git in this directory. This command will add a /.git directory to your folder that will store data about the repo.
Adding files to the repository
Now we need to tell Git to put the files under version control so we can commit them. To do this, run:
$ git add .
With ‘git add’ you can define which files you want to add to the next commit:
git add filenamewill add a specific filegit add .will add all files from the directory.
Once the files have been added, you can commit them to the repository:
$ git commit -m 'Added all files to the repository'
Where -m stands for the commit message. Always write something that describes your activity in the commit to avoid a mess when browsing the history later on.
To view which files have been added and/or committed, run git status.
Changing files in the repository
In Git, every time you change a file, you need to add it again with git add before making a commit.
Let’s say you’ve made some changes to readme.txt. If you want to commit the changes, you need to run:
$ git add readme.txt
$ git commit -m 'changes to readme.txt'
However, if you’d like to commit changes to existing files without running ‘git add’ every time, use -am as the parameter:
$ git add -am 'changes to readme.txt'
Viewing history
Okay, so we’ve already made some commits and registered some activity. If you’d like to see who and when made a commit in your repository, execute:
$ git log
You can add parameters to ‘git log’ to filter commits and change the outcome format, for example:
git log --pretty=onelinewill make the log more compactgit log --grep =shit.*will display the list of commits starting with "shit".
For a full list of parameters, run git log --help.
Restoring changes
With Git, you can easily undo changes to your files. You will soon find this feature a real blessing, especially if your recent change to code has messed up your whole project. The command depends on the actual status of the file in Git.
How to restore changes:
- If you’ve changed the file locally but haven’t added it with
git addyet, just checkout (clone) the file from the repository:
$ git checkout readme.txt
- If you’ve already added the file, add the HEAD parameter to the checkout command:
$ git checkout HEAD readme.txt
- If the file has already been committed, you need to add the revision to which you want to restore it, and commit it again:
$ git checkout <SHA> readme.txt
$ git add readme.txt
$ git commit -m ‘revert readme.txt to old version’
where <SHA> stands for the revision.
Collaboration with other users
Setting up remote repository
If you’d like to collaborate on code with your team, you need to create a remote repository on a Git hosting service to which you will push your changes. You can host your repo on our service, or use any other Git hosting provider and synchronize it with Buddy later on. In this example, we’ll use Buddy as the provider:
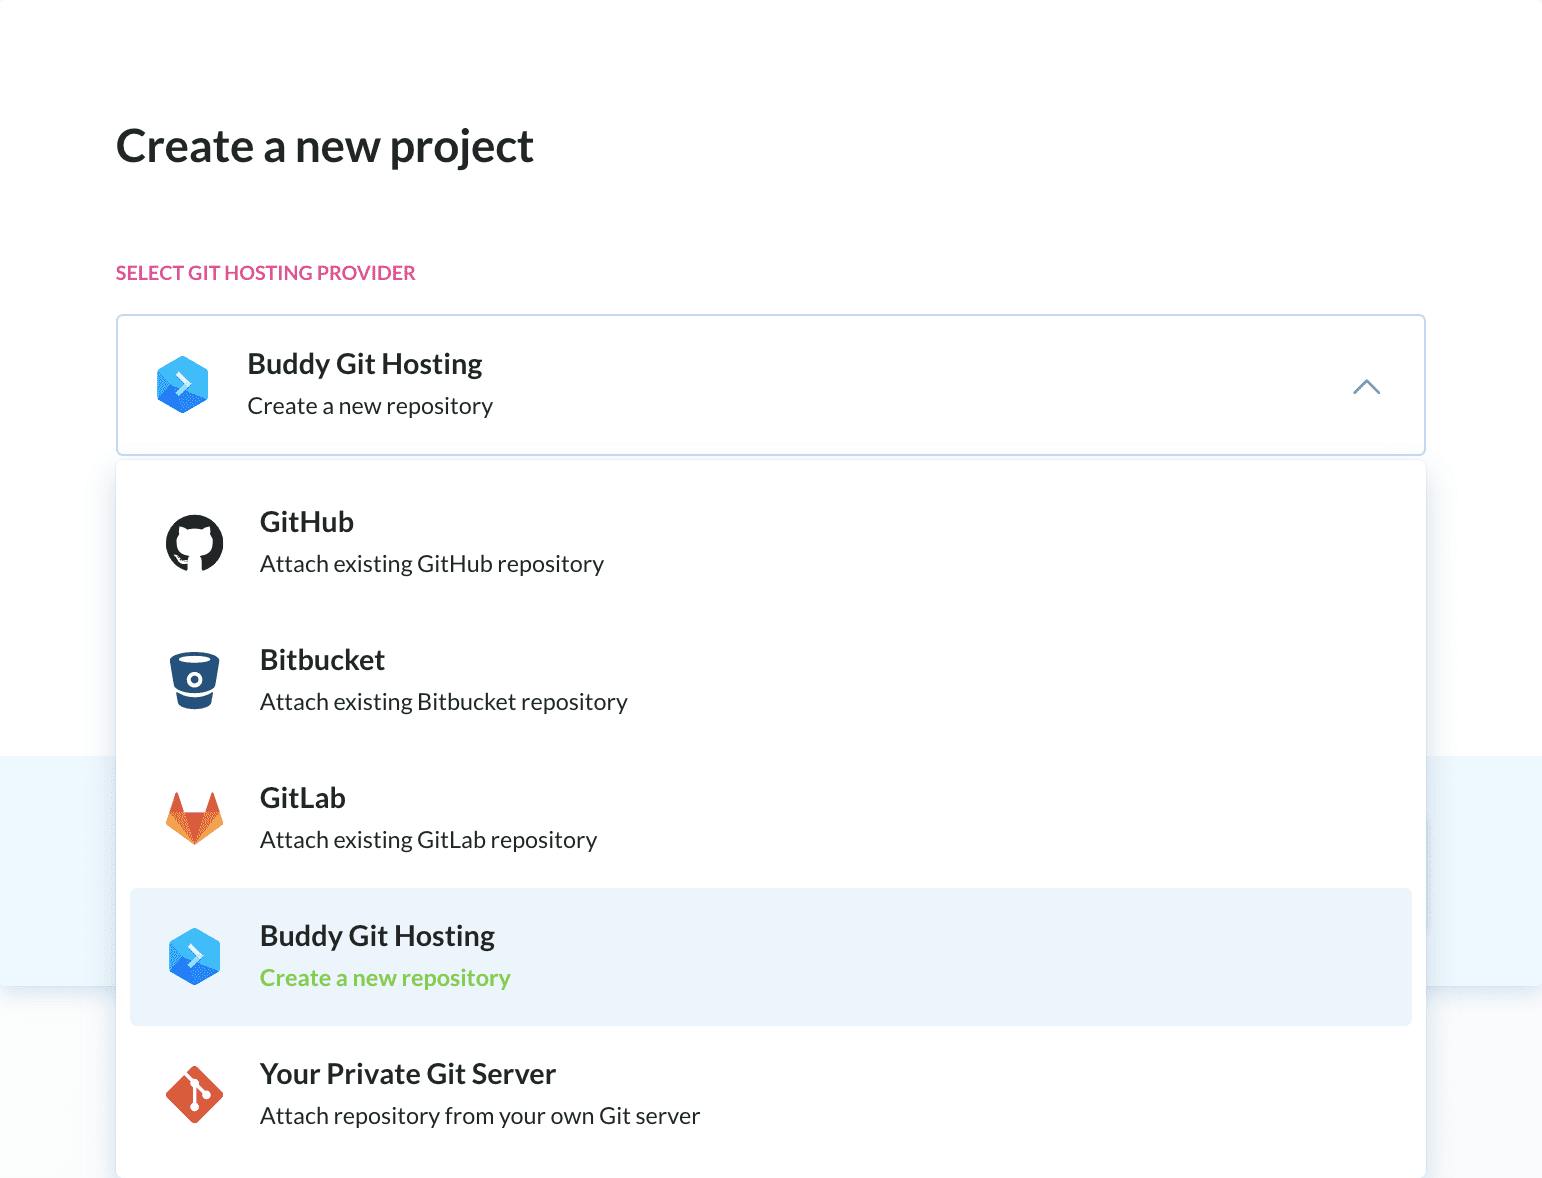 Creating a remote repository in Buddy
Adding remote and pushing changes using the git add remote feature
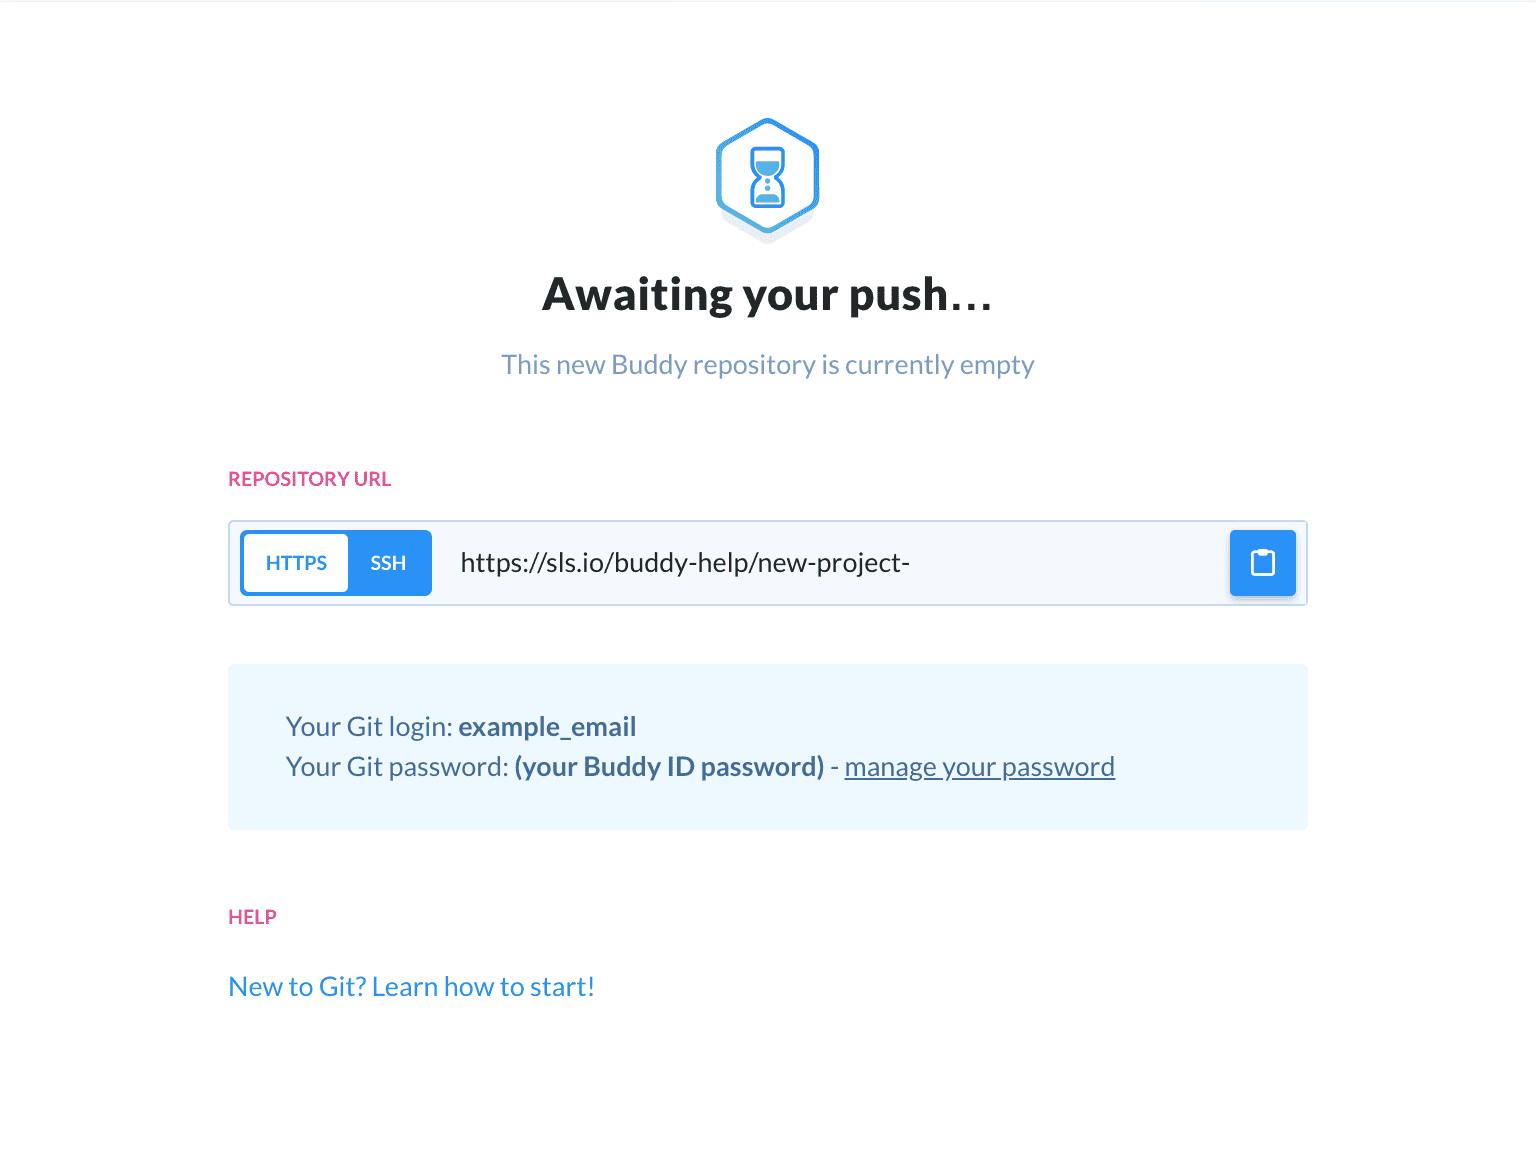
Right, so we’ve just created a remote repository on Buddy. Before we can push our commits we need to add that repo as a remote. To do that, run:
$ git remote add origin REMOTE_URL
REMOTE_URLis the link to your repository, eg. https://app.buddy.works/workspace-id/my-project`originis the ID of the remote location (you can change the word "origin" to something else)
Git will ask for your login credentials to the repository: just use the same email and password that you used to log in to Buddy. You can view and set them in your ID settings.
Now we can push our changes to the remote with this command:
$ git push origin --all
 Setting up remote repository
If you want to fetch the changes from the remote, run:
$ git pull origin --all
- The
--allparameter stands for all branches in the repository. We'll explain the idea of branches in the next step.In Git, you don’t just physically “upload” files from one place to another: what you are actually doing is registering the file changes into commits, and then push (upload) these commits to the repository. In other words, every time a file is added, modified, or removed, you need to commit this change before you can push it to the repository making it physically available to your team.
Working on branches
Creating a new branch
Branches are the core feature of Git, allowing you to work in isolation from other developers without the risk of messing up the mainline of development.
By default, the Git repository is created with the Master branch. If you’d like to develop a new feature, you should create a new branch:
$ git checkout -b new_feature
From now on, all new commits will be pushed to the freshly created new_features branch.
git_checkout branch_namewill switch you to the branch of given namegit show-branch --listwill display your local branchesgit show-branch --allwill display both local and remote branches
You can also view, add and delete branches directly from Buddy’s GUI in the Branches tab:
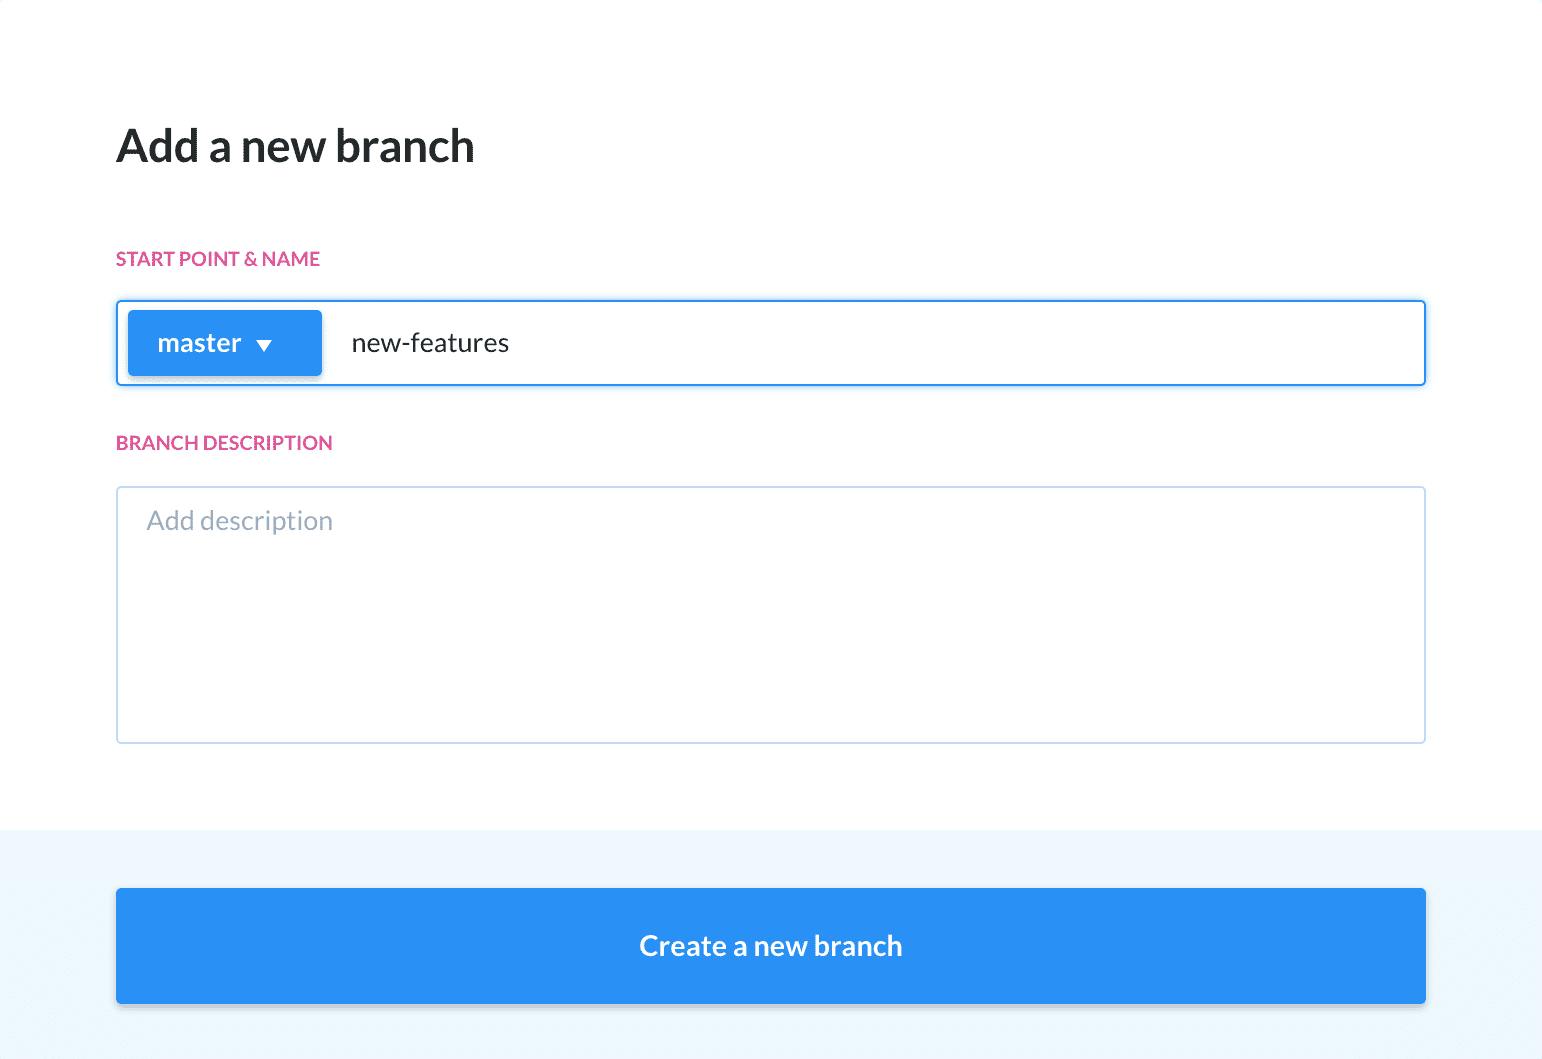 Creating New Branch
Pushing new branch to the remote
If you want to collaborate on this branch with another developer, you have to push it to the remote:
$ git push origin new_feature
Once pushed, other developers will be able to fetch the branch to their computer:
$ git pull origin new_feature
Merging branches
When your work is ready, you can switch back to Master and merge your feature branch to it:
$ git checkout master
$ git merge new_feature
Once the branch has been merged you can delete it:
$ git branch -d new_feature
All operations are available in Buddy from the Merges tab, allowing you to merge branches and issue merge requests with a couple of clicks:
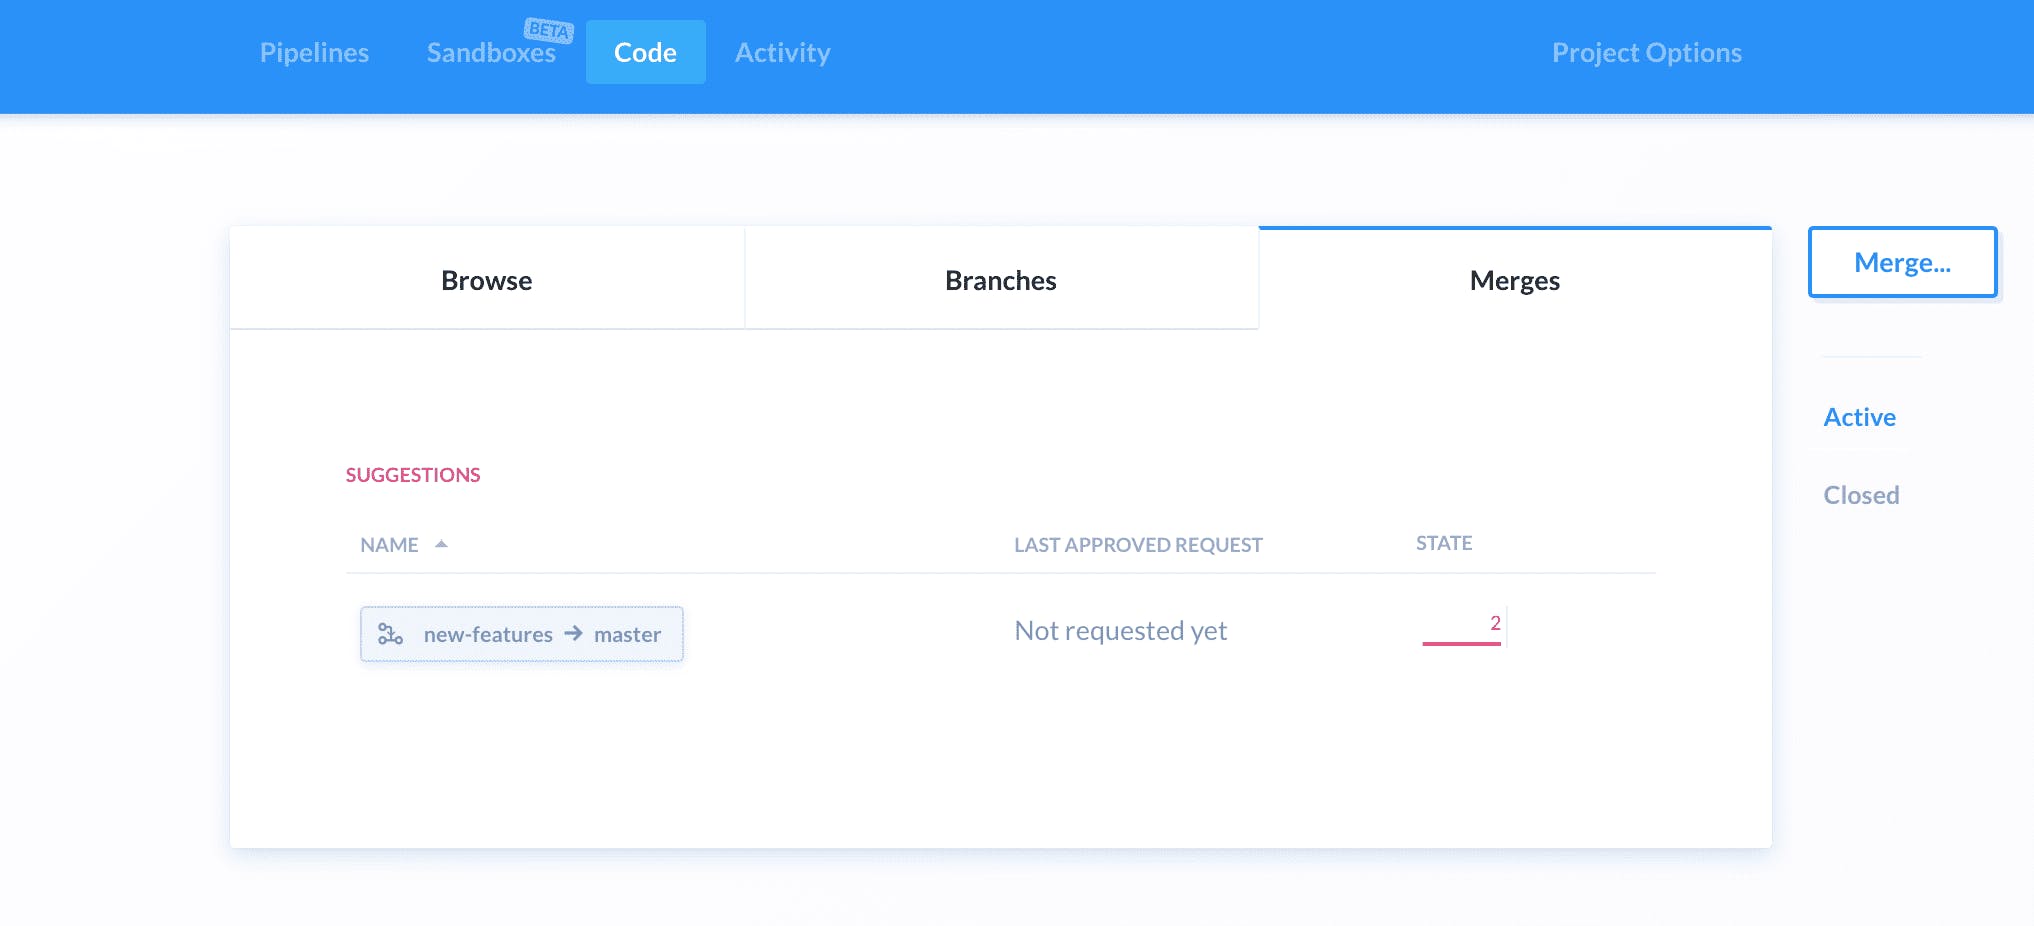 Adding Merge Requests
Resolving conflicts
Sometimes when merging conflicts appear. This happens most often when the same file’s been edited in two different branches, and you need to tell Git whose changes to keep.
Most often to resolve the conflict, you must edit the file, and then add and commit it again to the repo:
$ git add readme.txt
$ git commit -m 'conflict resolved'
If you’d like to learn more, take a look at our article on solving conflicts in Git.
Summary
Getting to know these few basic commands is the first step towards Git mastery. Although it may take some time until you become familiar with the Git ecosystem and instinctively know which command to use in a given situation, they will soon become the bread and butter of your everyday work as a developer.